Quick Start
Get DeskAgent running in 5 minutes.
Before You Begin
Make sure you have:
- Windows 10 or 11
- Microsoft Outlook installed (optional, for email features)
- Internet connection
- An AI API key (Claude or Gemini)
Don't have an API key yet?
You can get one during setup. See Add AI API Key for instructions.
Installation
The installer includes everything you need - Python, Git, and all dependencies.
-
Download
DeskAgent-Setup.exefrom the releases page -
Run the installer
- Right-click → "Run as administrator" if prompted
- Accept the default installation location or choose your own
-
Wait for setup (2-5 minutes)
- Python environment is configured automatically
- All dependencies are installed
- Default configuration files are created
-
Setup Complete
After installation, you'll see the setup complete screen:
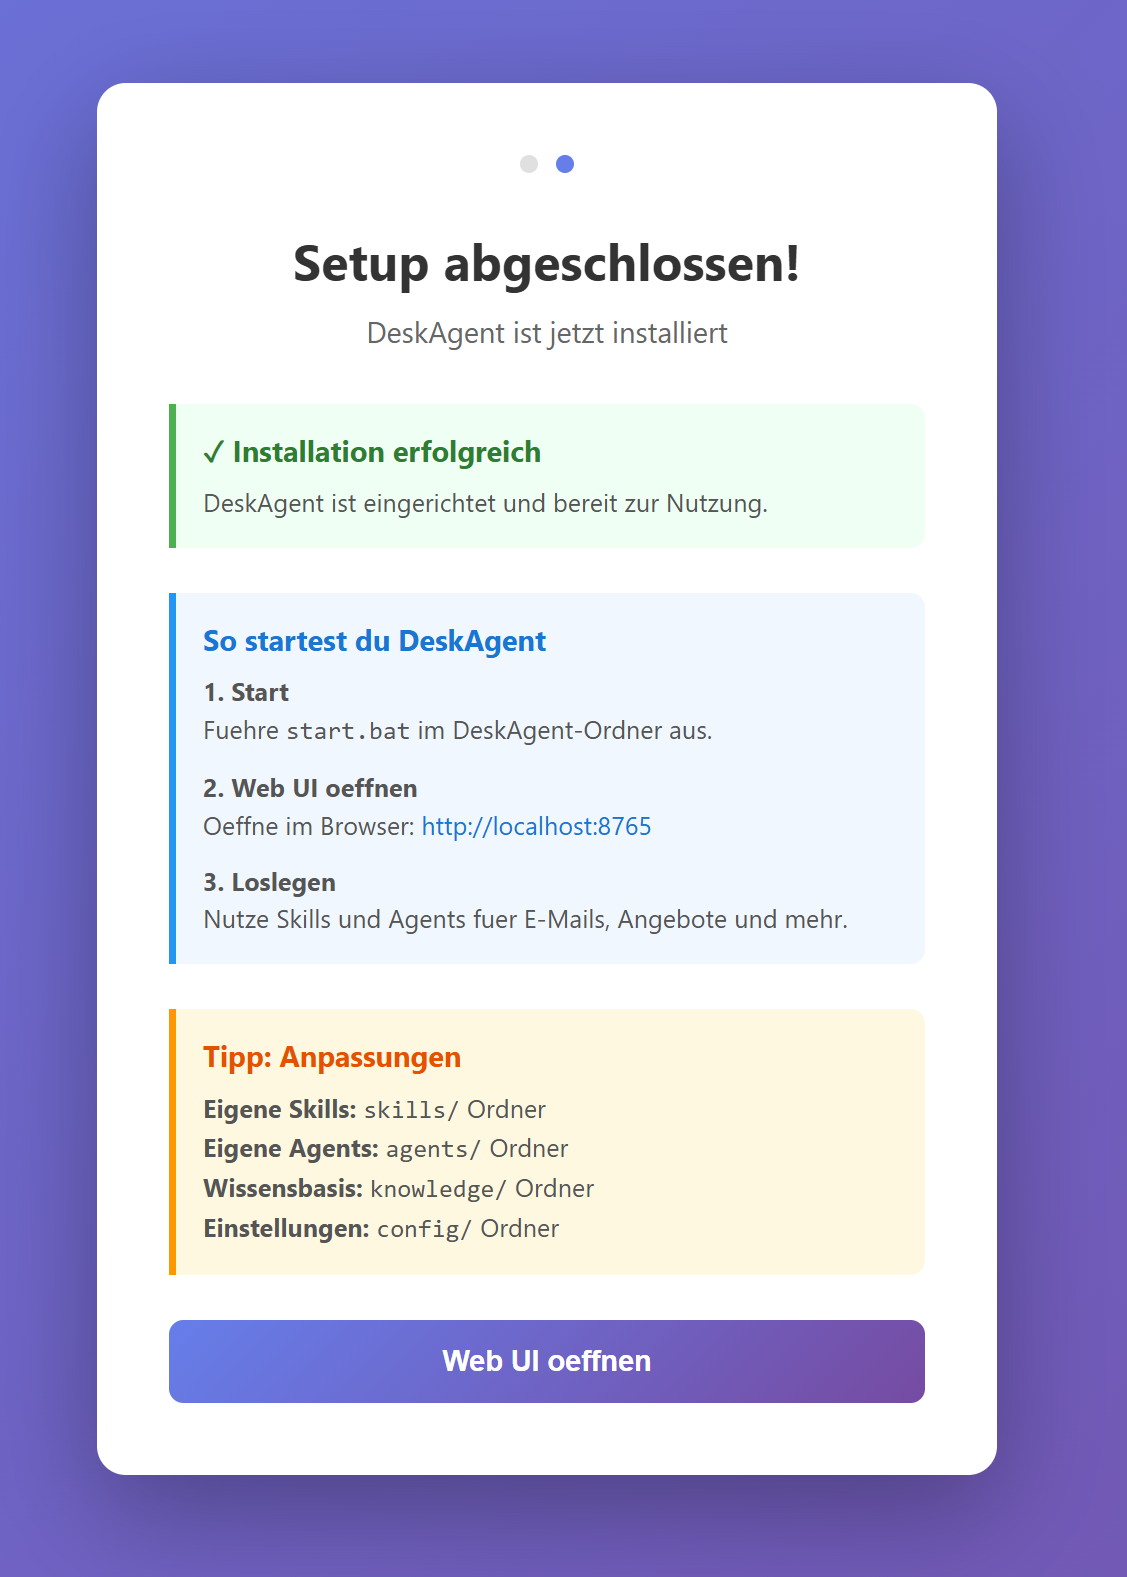
A DeskAgent shortcut appears on your desktop. Double-click to start.
License Activation
DeskAgent requires a license to run. You can start with a Trial license or activate a Full license.
Trial License (Free)
The Trial license is automatically active after installation. It includes:
- Full functionality for 14 days
- All features and integrations
- No credit card required
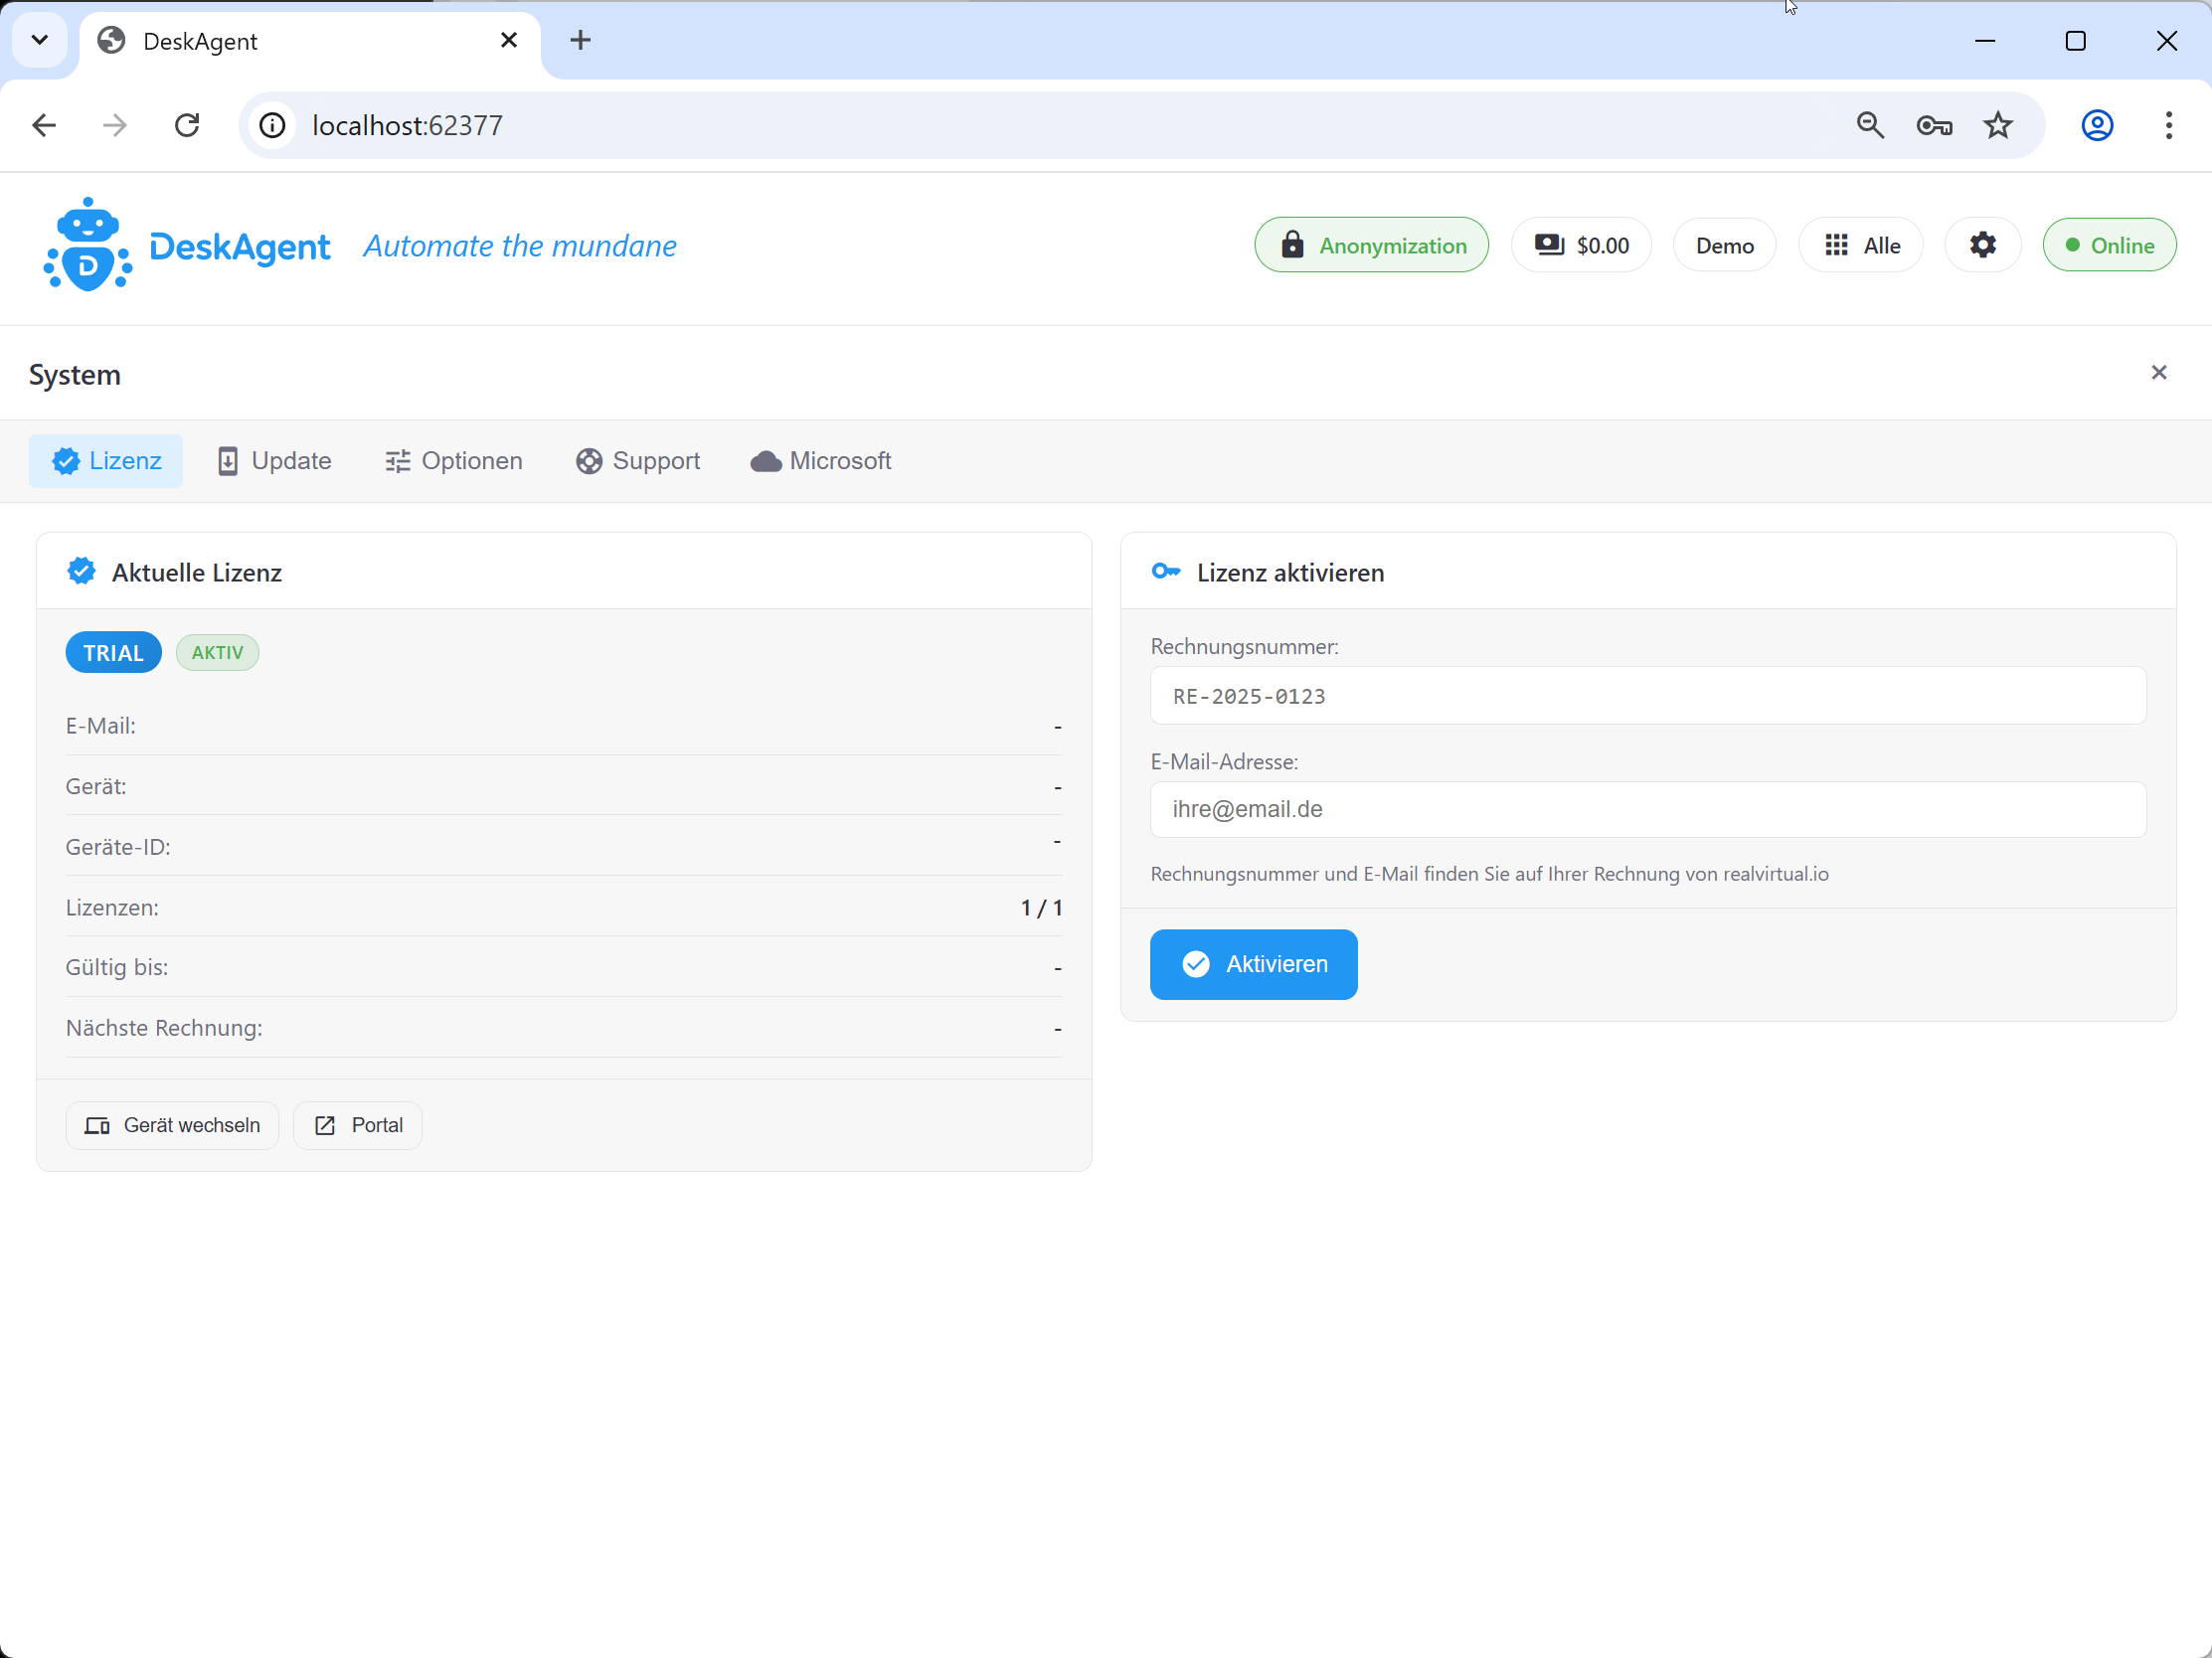
Full License
To activate a purchased license:
- Open Settings (gear icon in the top-right corner)
- Go to the License tab
- Enter your Invoice Number and Email (from your purchase)
- Click Activate License
Purchase a License
Visit deskagent.de to purchase a license. You'll receive your invoice number via email.
Configuration
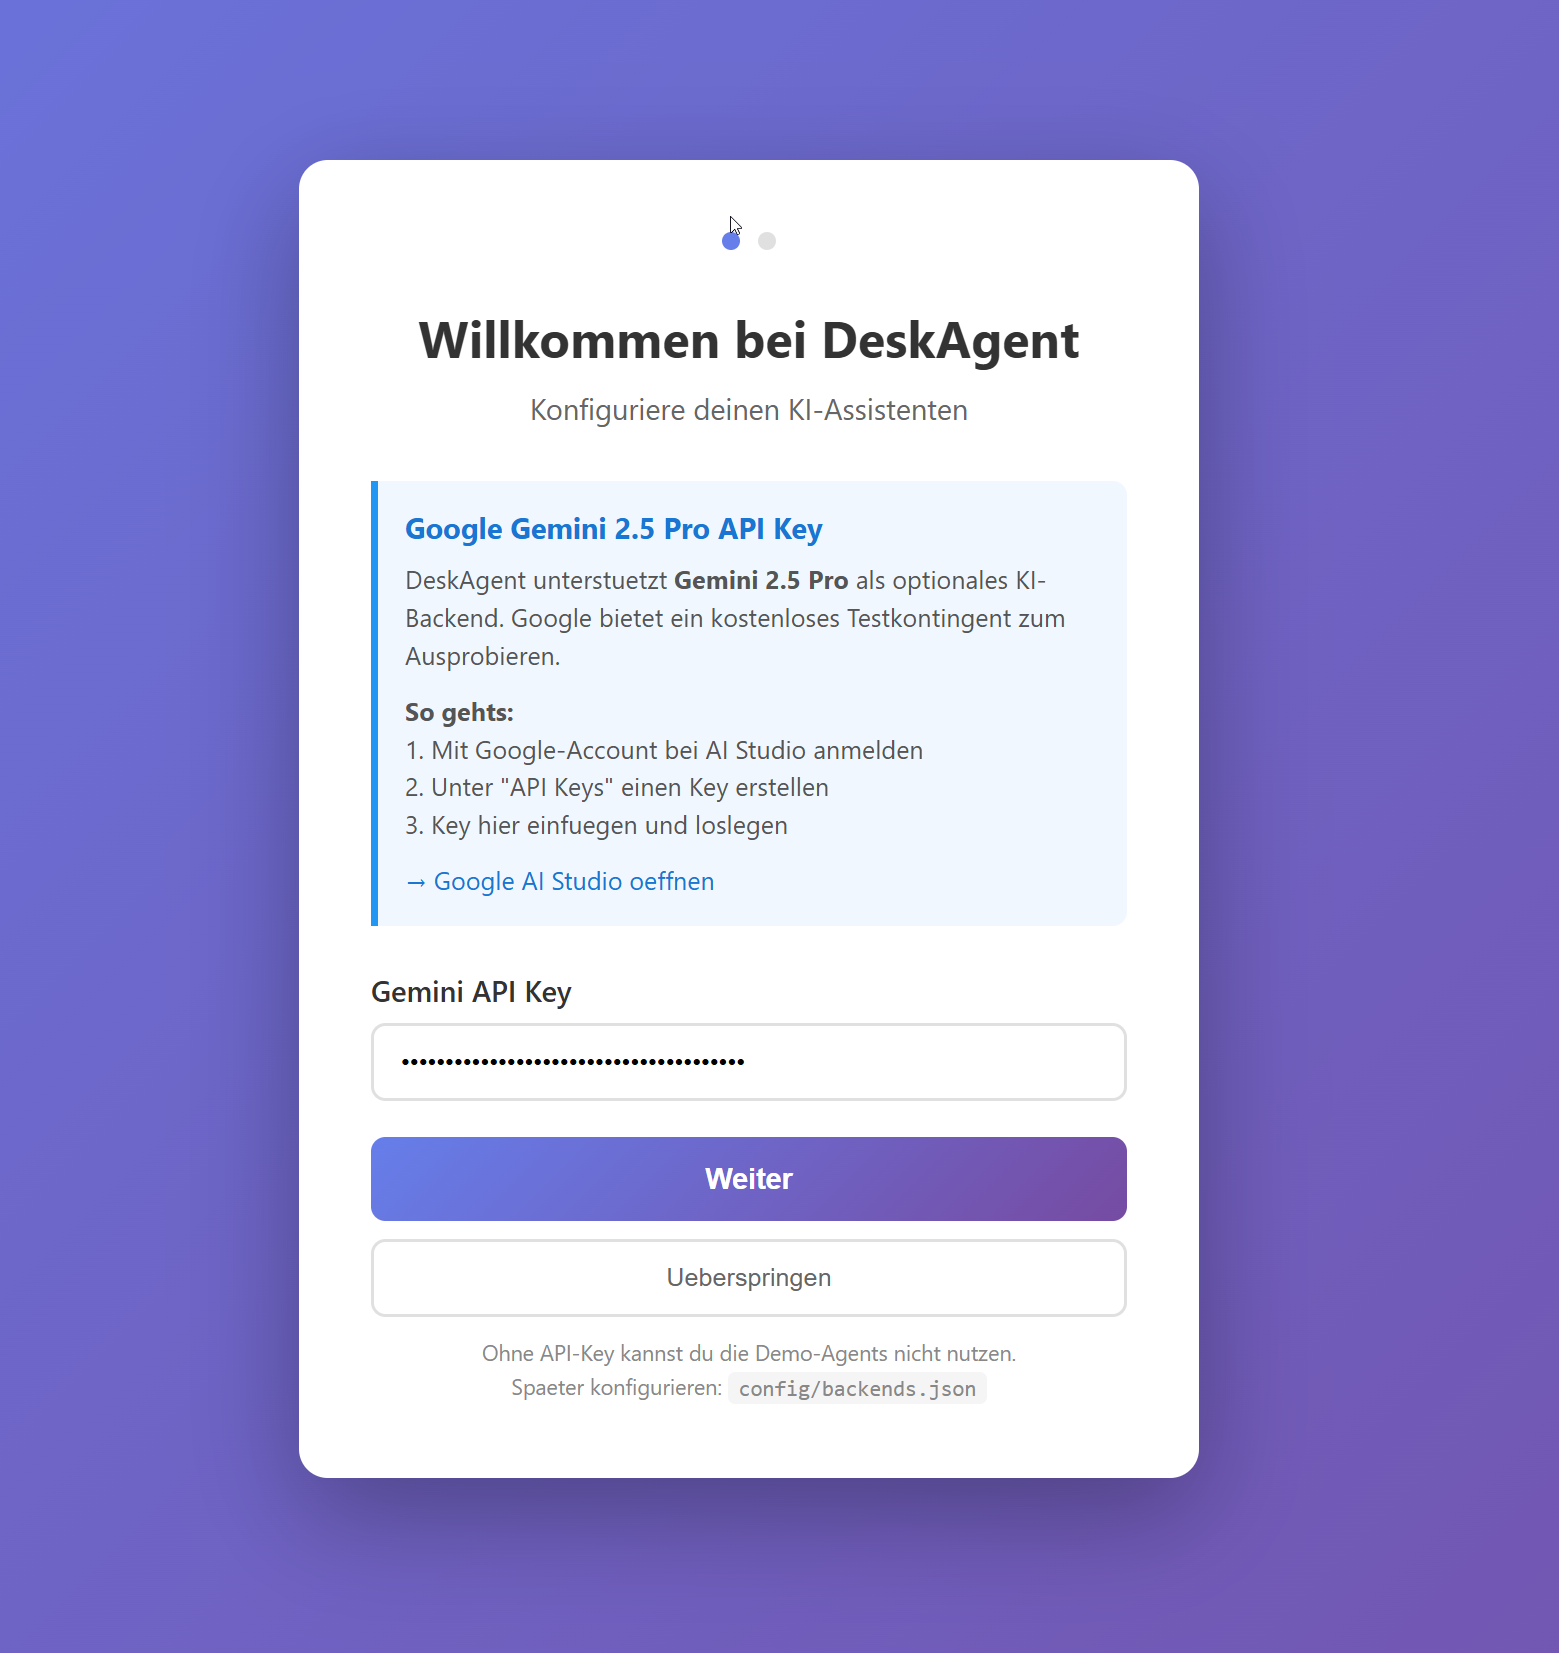
Add AI API Key
The setup wizard guides you through API key configuration:
Alternatively, you can edit config/backends.json directly:
{
  "claude_sdk": {
    "type": "claude_agent_sdk",
    "api_key": "sk-ant-api03-YOUR-KEY-HERE",
    "model": "claude-sonnet-4-20250514",
    "use_anonymization_proxy": true
  }
}
Get your key:
- Go to console.anthropic.com
- Create an account or sign in
- Navigate to API Keys in the left menu
- Click Create Key
- Copy the key (starts with
sk-ant-)
{
  "gemini": {
    "type": "gemini_adk",
    "api_key": "AIzaSy-YOUR-KEY-HERE",
    "model": "gemini-2.5-pro"
  }
}
Get your key:
- Go to aistudio.google.com
- Sign in with your Google account
- Click Get API Key in the top menu
- Select Create API key in new project
- Copy the key (starts with
AIza)
Configure Extensions (Optional)
For billing, support, or document management, edit config/apis.json:
{
  "billomat": {
    "enabled": true,
    "id": "your-account-id",
    "api_key": "your-api-key"
  },
  "userecho": {
    "enabled": true,
    "subdomain": "your-subdomain",
    "api_key": "your-api-key"
  }
}
Skip for Now
Extensions are optional. You can set them up later in Configuration → Extensions.
Start DeskAgent
Using the Shortcut
Double-click the DeskAgent shortcut on your desktop.
Using Command Line
Or use the start script:
What Happens
- The server starts on port 5005
- A native window opens (or browser tab if WebView is disabled)
- You see the DeskAgent interface
Verification
The interface should show:
- A chat input field at the bottom
- "Agents" panel on the left
- Connection status in the header
If you see an error, check Troubleshooting.
Your First Task
Let's verify everything works with a simple test.
Test 1: Chat with the AI
-
Type in the chat:
-
Expected result: The AI responds with a list of its capabilities.
Working!
If you get a response, your AI backend is configured correctly.
Got an error?
- "Invalid API key" → Check your key in
backends.json - "Connection refused" → Check your internet connection
- No response → Check
workspace/.logs/system.logfor errors
Test 2: Try an Agent (If Outlook is available)
- Open Microsoft Outlook and select an email
- In DeskAgent, click Agents → Read Email
- Expected result: DeskAgent reads and summarizes the selected email
Test 3: Explore Available Agents
- Click Agents in the sidebar
- Browse the available agents
- Hover over each to see what it does
Quick Reference
Starting & Stopping
| Action | Command |
|---|---|
| Start DeskAgent | .\deskagent\start.bat |
| Stop DeskAgent | .\deskagent\stop.bat |
| Restart | Stop, then Start |
Configuration Files
| File | Purpose |
|---|---|
config/backends.json | AI provider API keys |
config/apis.json | External service credentials |
config/system.json | UI and behavior settings |
config/agents.json | Agent definitions |
Logs Location
| Log | Location |
|---|---|
| System log | workspace/.logs/system.log |
| Last agent run | workspace/.logs/agent_latest.txt |
Troubleshooting
DeskAgent won't start
| Symptom | Solution |
|---|---|
| "Port already in use" | Run .\deskagent\stop.bat first, or restart your computer |
| No window appears | Check workspace/.logs/system.log for errors |
AI not responding
| Symptom | Solution |
|---|---|
| "Invalid API key" | Double-check your key in backends.json - no extra spaces |
| Timeout errors | Check your internet connection |
| "Rate limit" | Wait a minute and try again |
Outlook issues
| Symptom | Solution |
|---|---|
| "Outlook not available" | Make sure Outlook is open and running |
| "No email selected" | Click once on an email (don't double-click to open it) |
Need more help?
Check the FAQ or the system log at workspace/.logs/system.log.
Next Steps
-
Meet Your Assistant
Learn how to interact with DeskAgent
-
Add Your Knowledge
Teach DeskAgent about your business
-
Try Workflows
Step-by-step guides for common tasks
-
Connect Services
Set up billing, support, and document management